
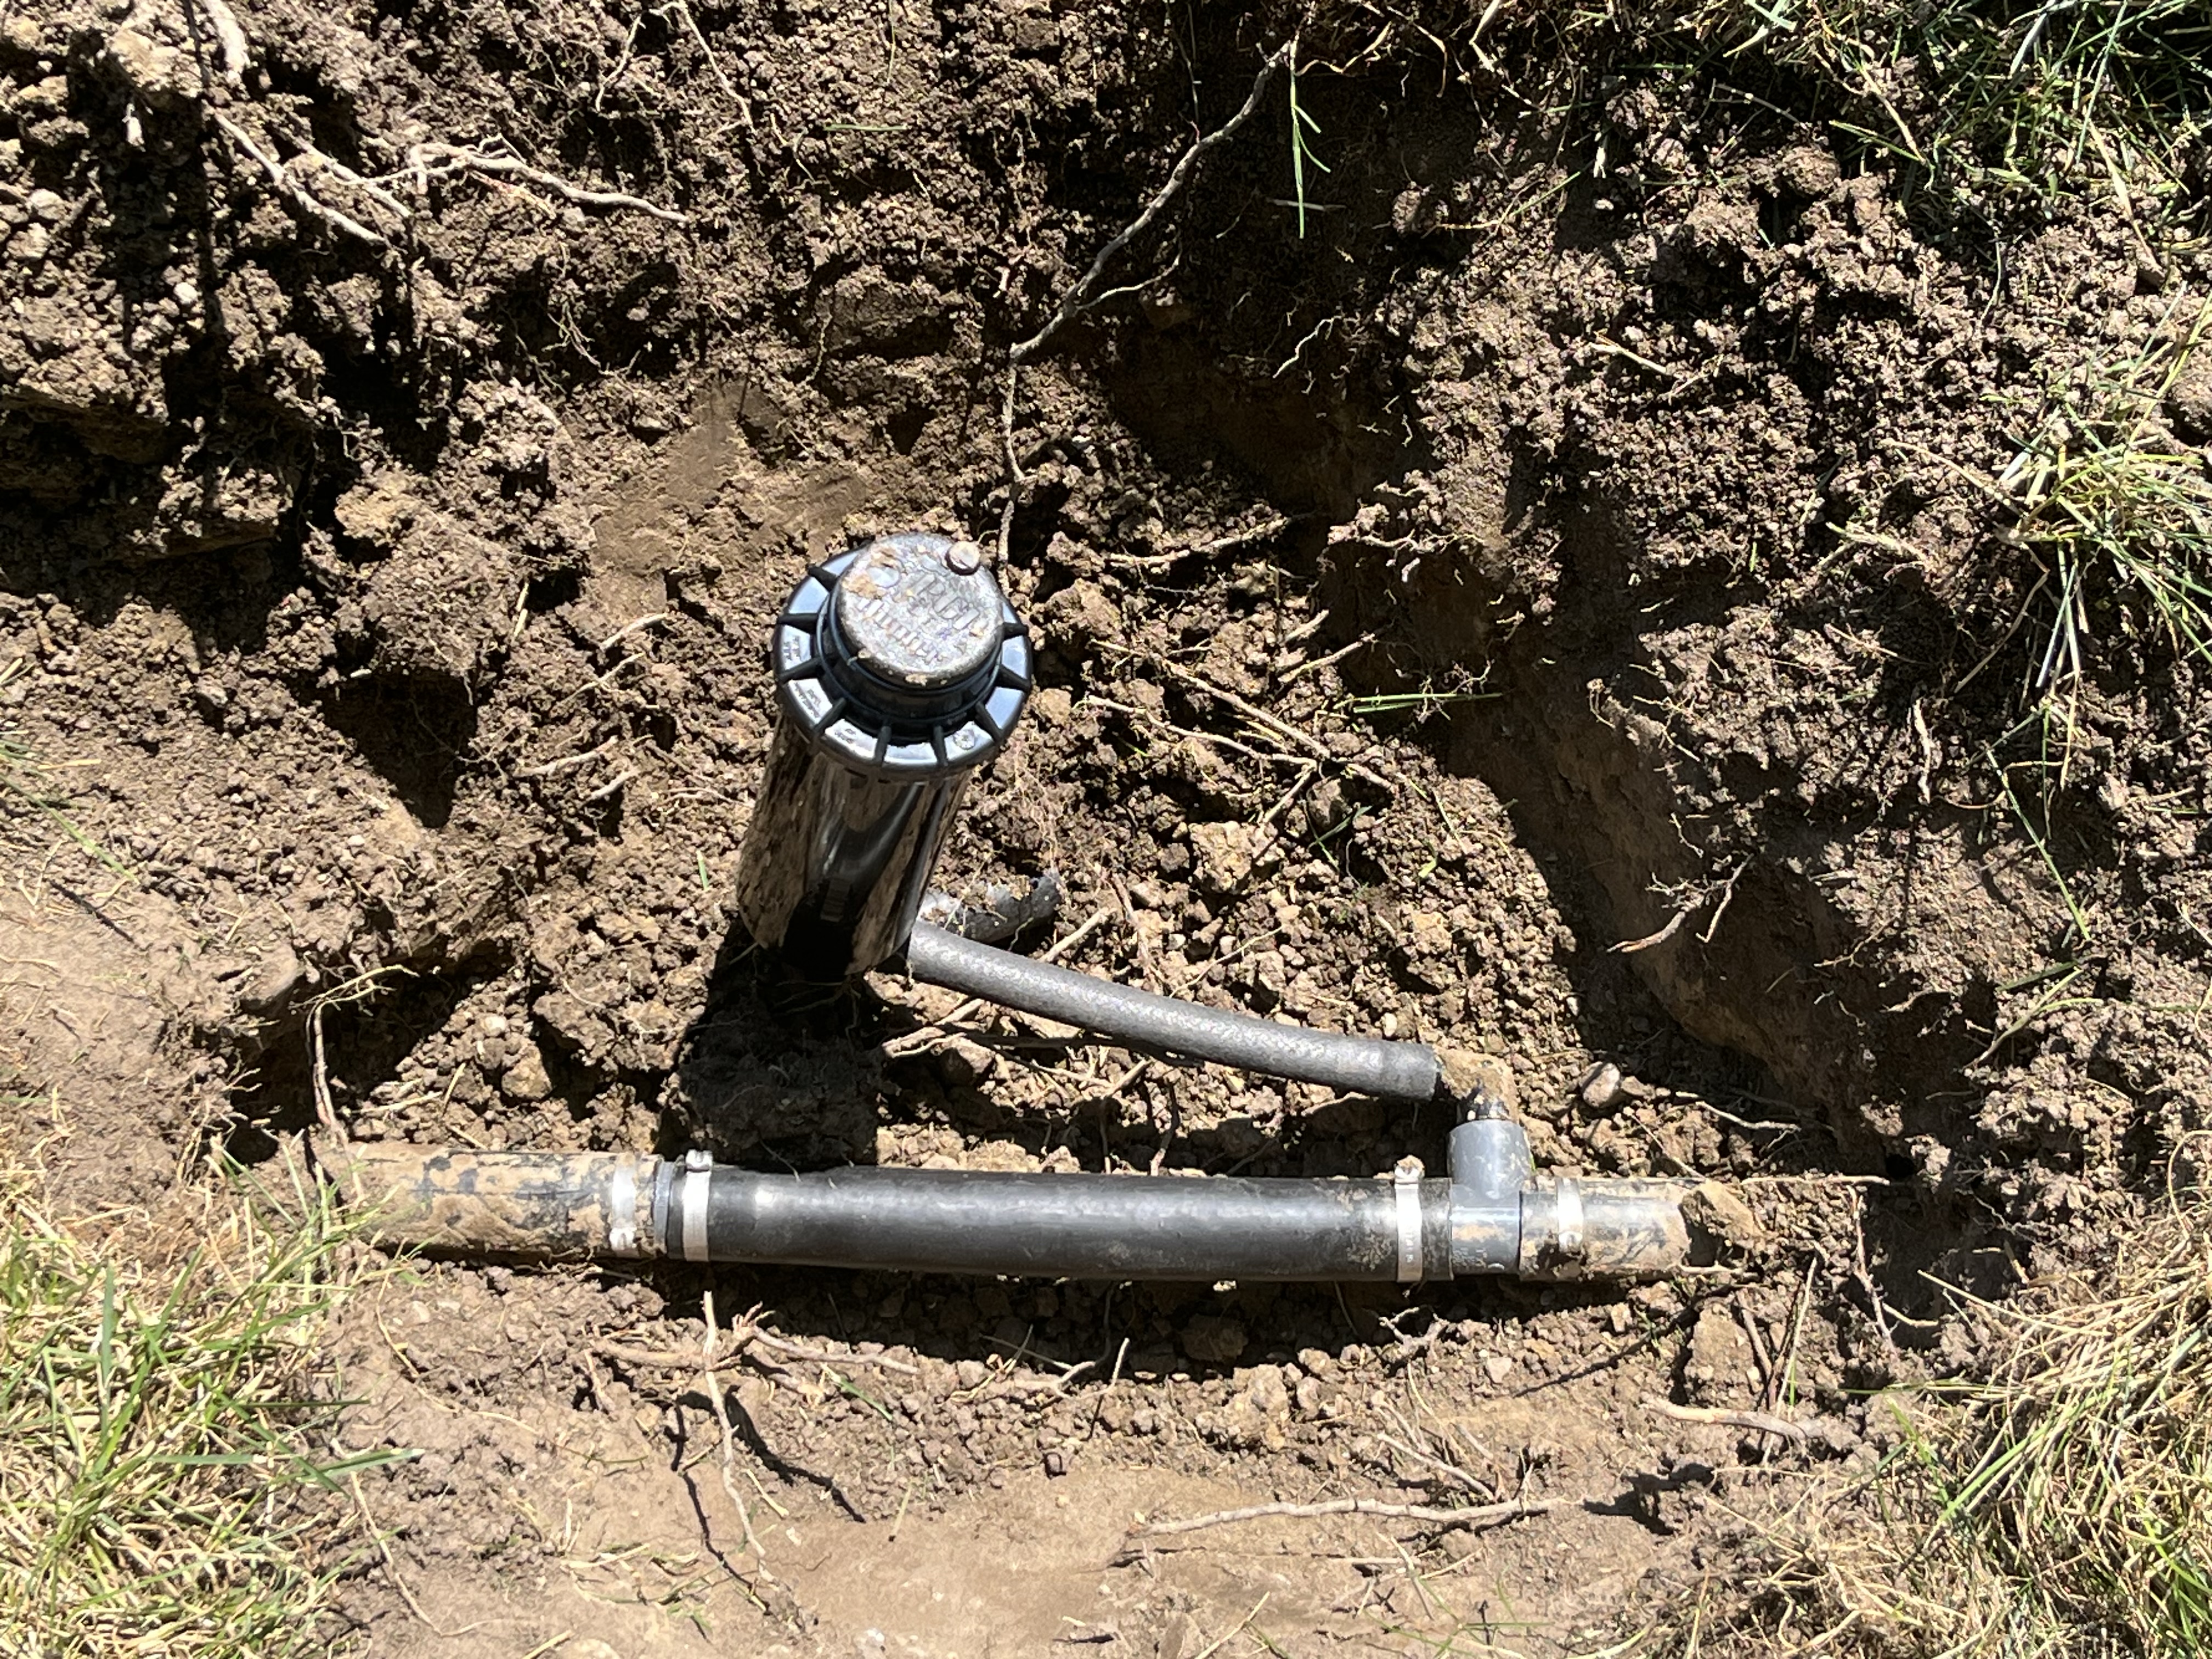
A residential rotor should be installed on a connection that allows correct height, vertical alignment, and future adjustment. Hunter HydroTech normally uses a flexible swing assembly rather than threading the rotor directly onto a rigid nipple.
A common rotor arrangement is:
CRE or CRT → 050 swing elbow → 6 to 14 inches of swing pipe → 075 swing elbow → rotor
Before replacing the rotor
Run the zone and identify the actual problem. A rotor may appear defective when the real issue is low pressure, a clogged nozzle, a zone-line leak, an incorrectly adjusted arc, a valve problem, or debris inside the head.
Excavate enough working room
Dig approximately 6 to 8 inches away from the rotor on all sides. A donut-shaped excavation protects the surrounding lawn while providing room to inspect and reposition the underground connection.
Inspect the existing connection
Older rotors may be installed on a rigid nipple, a flexible assembly, or an older nylon male-threaded barbed fitting. Inspect for:
- Cracked or brittle nipples
- Damaged female threads
- Leaking CRE or CRT fittings
- Incorrect barb connections
- Kinked or punctured swing pipe
- Roots surrounding a previous leak
Build the rotor swing assembly
Connect a 050 swing elbow to the common 1/2-inch female threaded outlet of the CRE or CRT. Install approximately 8 to 14 inches of commercial-grade swing pipe. At the rotor end, use a 075 swing elbow for a rotor with a 3/4-inch threaded inlet.
Flush the open line
Keep the rotor off the assembly. Move the open pipe outside the excavation and run the zone for approximately 15 to 60 seconds. Continue until the water is clear.
After shutdown, inspect the open fitting for dirt and stones. A small rock can damage an internal seal, interfere with the rotor drive, or clog the nozzle.
Install the rotor
Thread the rotor onto the 075 elbow carefully. Avoid cross-threading and do not use the rotor body as a lever to twist the underground assembly.
Set the rotor upright with the top slightly below the grass and level with the soil near the thatch/root layer. The exact final elevation should allow the riser to clear the turf when operating without exposing the body to mower damage.
Install the nozzle and adjust the rotor
Use the nozzle required for the zone design and available pressure. Adjust the arc so water remains inside the intended landscape area. Radius reduction should be used carefully because excessive reduction can affect distribution.
Test before final backfill
- Check the underground fitting for leaks
- Confirm the rotor rises and retracts
- Confirm the arc starts and stops in the correct locations
- Inspect the stream and nozzle pattern
- Check head-to-head coverage
- Verify that the rotor remains vertical while running
Backfill and stabilize
Pack soil evenly around the rotor body while keeping it vertical. Replace the turf and retest the zone after the soil has been compacted.
Professional-service warning
Call an irrigation professional when a rotor replacement reveals a pressurized fitting leak, damaged poly pipe, broken valve, wiring problem, repeated low pressure, or uncertainty about nozzle demand and zone capacity.
Related resources:
Real Project Documentation
Project Photo Gallery
See the diagnosis, repairs, materials and finished work from this Hunter HydroTech project.
Frequently Asked Questions
What size swing elbow connects to a residential rotor?
How much swing pipe should be used under a rotor?
Should a rotor line be flushed before installing the head?
Why is my new rotor leaning?
Professional Irrigation Service
Need help diagnosing your sprinkler system?
Hunter HydroTech provides residential and commercial irrigation repair, pump-system service, valve diagnosis, controller troubleshooting, backflow service, revamps and seasonal maintenance throughout Southeast Michigan.
Related Sprinkler Repair Guides
Macomb Township MI Sprinkler Winterization: City-Water, Revamped Systems & Pump Shutdown
A Macomb Township winterization guide built around real local irrigation history, city-water shutoffs, rebuilt zones, backflow dra...
Read guide →Royal Oak MI Sprinkler Winterization for Older Systems, Backflows & Legacy Rotors
A Royal Oak winterization guide for older city-water irrigation, mixed-generation rotors and sprays, mature landscaping, backflow...
Read guide →Harrison Township Pump-Fed Irrigation: Berkeley Pumps, Large Mains & Pressure Troubleshooting
Hunter HydroTech field work in Harrison Township includes city-water and pump-fed irrigation, Berkeley 1.5 HP and 2 HP pumps, Hunt...
Read guide →