
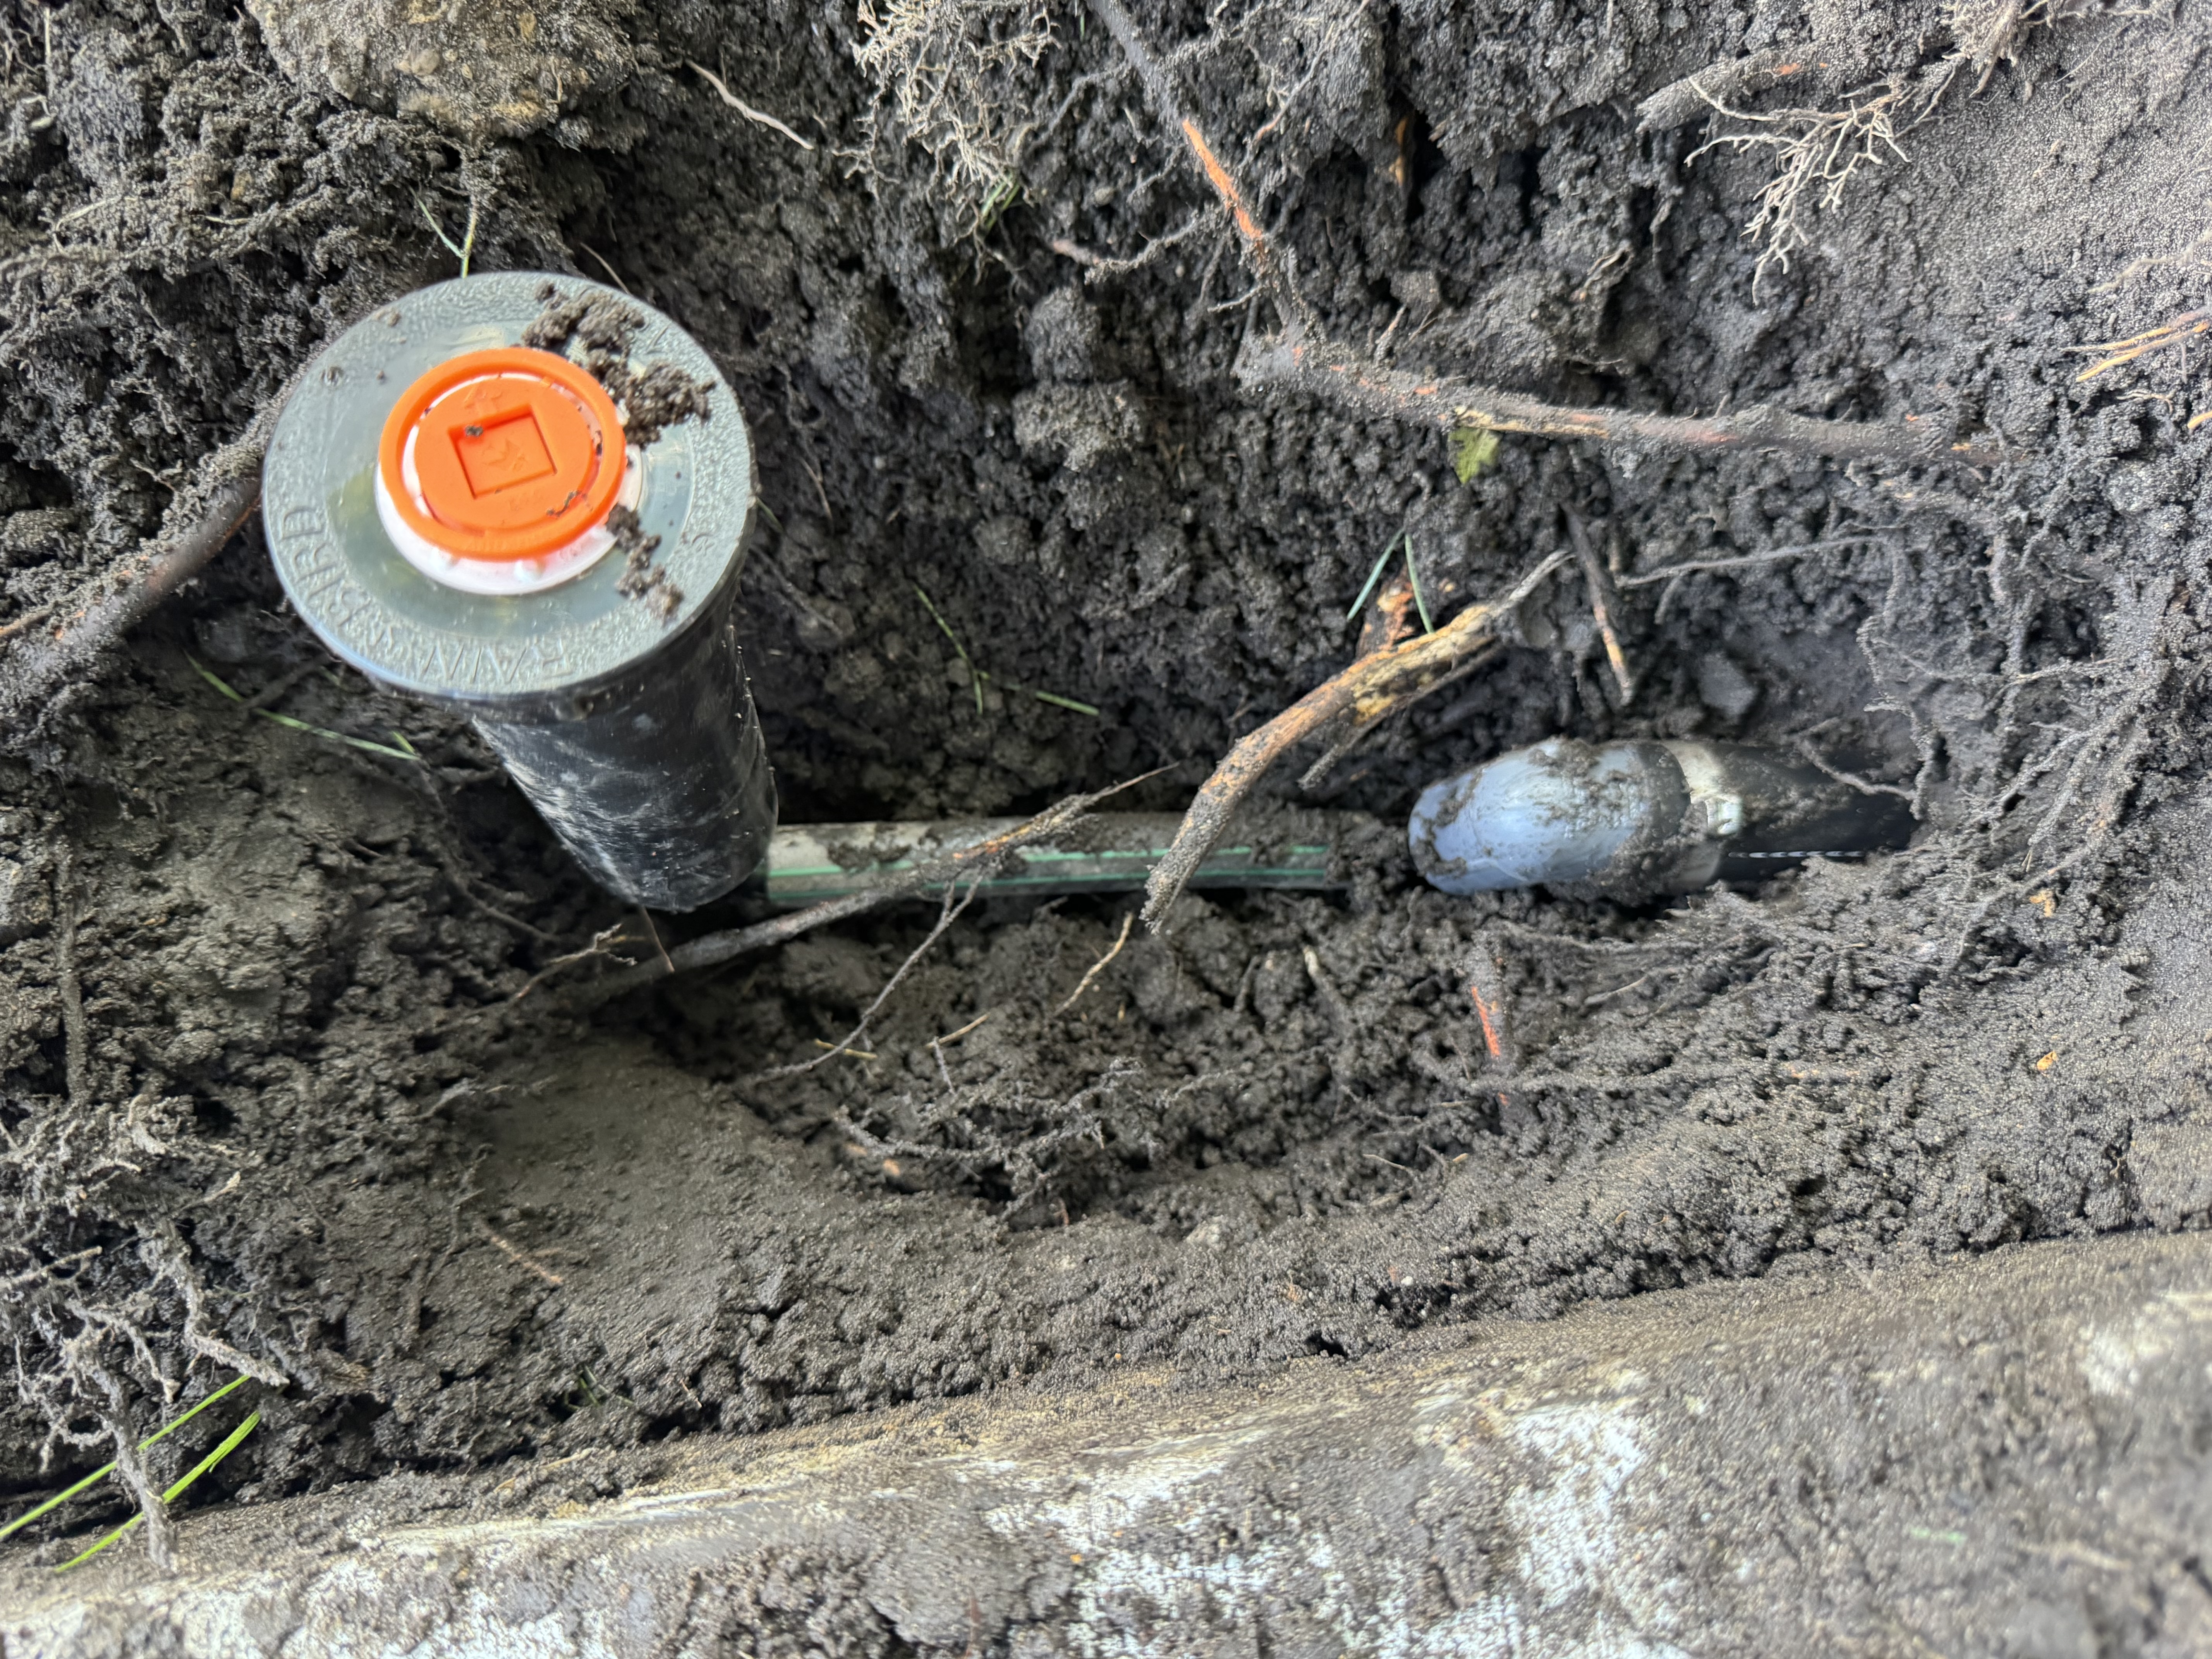
A residential spray head should be installed securely, positioned at the proper height, and connected without placing unnecessary stress on the underground zone line. Hunter HydroTech prefers a flexible swing assembly consisting of a CRE or CRT, a 050 elbow, swing pipe, another 050 elbow, and the spray body.
This guide is written for homeowners and new irrigation technicians. Straightforward head replacement may be manageable for a careful homeowner. Broken underground fittings, deep excavation, pressurized fitting leaks, damaged valves, or uncertain pipe types may require professional service.
Typical spray-head assembly
1-inch poly zone line → CRE or CRT with 1/2-inch female thread → 050 swing elbow → 8 to 14 inches of swing pipe → 050 swing elbow → spray head
Tools and materials
- Replacement spray body and correct nozzle
- Two compatible 050 swing elbows
- Commercial-grade swing pipe
- Hand shovel or irrigation digging tool
- Clean rag
- Nipple extractor when removing a broken nipple
- Replacement CRE or CRT and Oetiker stainless crimp clamp if the underground fitting is damaged
Step 1: Identify the correct zone and head
Operate the zone before digging when possible. Confirm which head is damaged and observe its spray pattern, pressure, nozzle type, and relationship to nearby heads. Shut the system off before excavation.
Step 2: Excavate a donut-shaped working area
Dig approximately 6 to 8 inches away from the sprinkler head on every side. Remove the soil and turf in a donut shape rather than creating a narrow slot directly beside the head.
The larger working area provides room to:
- Inspect the pipe and fittings
- Bend the swing pipe naturally
- Remove broken components
- Set the spray body upright
- Pack soil evenly around the finished head
Step 3: Remove the old head and connection
Unscrew the old spray body while protecting the underground fitting from twisting. If the head is installed on a rigid nipple, inspect the nipple for cracks. A broken threaded section may require a nipple extractor.
If the CRE or CRT is split, cross-threaded, or leaking, cut out the damaged fitting and install a new commercial-grade replacement using the correct poly connection and Oetiker stainless crimp clamp.
Step 4: Build the swing assembly
Install a 050 swing elbow into the 1/2-inch female threaded outlet of the CRE or CRT. Connect approximately 8 to 14 inches of swing pipe, then install a second 050 elbow at the spray-head end.
Do not force swing pipe onto a polyethylene insert fitting. Do not force poly pipe onto a swing fitting. The barb profile must match the pipe.
Step 5: Flush the line before installing the spray body
Leave the sprinkler head off. Move the open swing assembly outside the excavation so the discharge does not flood the hole. Activate the zone for approximately 15 to 60 seconds depending on how much dirt entered the line.
Continue until the water runs clear. Shut the zone off and inspect the open fitting for remaining dirt, stones, or debris. Debris left in the connection can damage a seal, O-ring, nozzle, or internal part of the new head.
Step 6: Install and position the spray head
Thread the spray body onto the 050 elbow without cross-threading. Position the head upright and set the finished height slightly below the grass while keeping the top level with the soil. Hunter HydroTech generally aims for the beginning of the thatch and grass-root layer.
Step 7: Test before backfilling
Run the zone and check:
- The fitting and swing assembly for leaks
- The spray body for proper pop-up and retraction
- The nozzle pattern and radius
- The head height and vertical alignment
- Coverage relative to nearby heads
Step 8: Backfill and stabilize the head
Pack soil evenly around the sprinkler body in layers. Keep the head upright as the soil is compacted. Replace the turf and run the zone one final time.
When to call a professional
Professional diagnosis is recommended when the repair involves a damaged valve, active mainline pressure, a leaking CRE or CRT, electrical wiring, multiple low-pressure heads, unknown pipe types, or repeated failure after replacing the head.
Related resources:
Real Project Documentation
Project Photo Gallery
See the diagnosis, repairs, materials and finished work from this Hunter HydroTech project.
Frequently Asked Questions
How deep should a spray head be installed?
Should the sprinkler line be flushed before installing a new spray head?
Why should I dig 6 to 8 inches around a sprinkler head?
What swing elbow is used at a spray head?
Professional Irrigation Service
Need help diagnosing your sprinkler system?
Hunter HydroTech provides residential and commercial irrigation repair, pump-system service, valve diagnosis, controller troubleshooting, backflow service, revamps and seasonal maintenance throughout Southeast Michigan.
Related Sprinkler Repair Guides
Macomb Township MI Sprinkler Winterization: City-Water, Revamped Systems & Pump Shutdown
A Macomb Township winterization guide built around real local irrigation history, city-water shutoffs, rebuilt zones, backflow dra...
Read guide →Royal Oak MI Sprinkler Winterization for Older Systems, Backflows & Legacy Rotors
A Royal Oak winterization guide for older city-water irrigation, mixed-generation rotors and sprays, mature landscaping, backflow...
Read guide →Harrison Township Pump-Fed Irrigation: Berkeley Pumps, Large Mains & Pressure Troubleshooting
Hunter HydroTech field work in Harrison Township includes city-water and pump-fed irrigation, Berkeley 1.5 HP and 2 HP pumps, Hunt...
Read guide →